Seiten

Posts mit dem Label Android werden angezeigt. Alle Posts anzeigen

18.08.15

Creating quick tests with Google Form grid questions

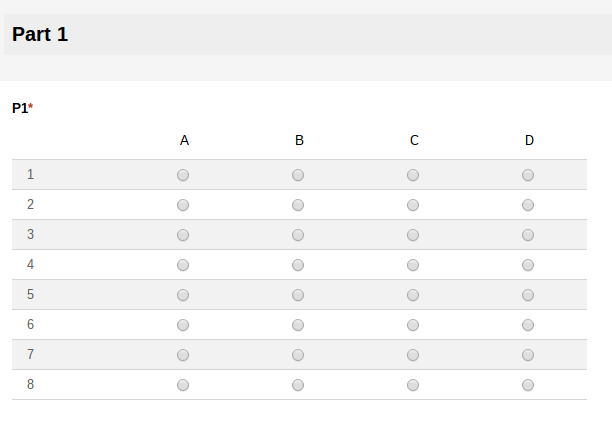
One of the most popular methods for creating online quizzes and tests for teacher is using Google Forms with the Flubaroo add-on. I use the same combination for tests which I already have in paper or pdf form. As typing out all questions would be a bit cumbersome and redundant, I actually just use paper/pdf with a Google Forms “answer sheet”, which then will look something like this:


Screenshot 2015-08-18 at 16.21.04.png

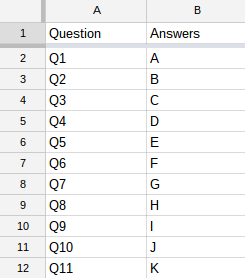
This works particularly well with standardized tests (like the Cambridge English certificates) which use mostly multiple choice, true/false questions. This is a huge time saver, as you don’t have to type the questions themselves and you can quickly create a lot of questions instantly. I do that by copying the number of questions and possible answers from a Google sheet. Say you need 12 questions with four options all you need to do is copy and paste them from the Google sheet.

Screenshot 2015-08-18 at 16.21.54.png

The students then are sent two links: one to the pdf file containing the test (which can also be printed out) and one to the Google Form to enter their answers. As this kind test is mobile friendly, the students could also use their smartphones to to that.

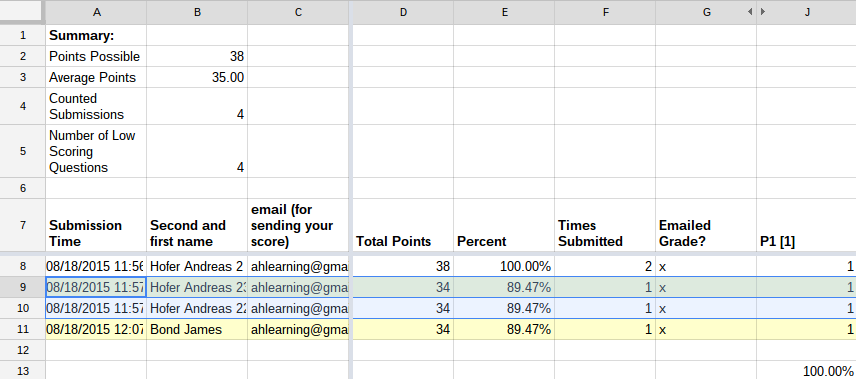
Using the Flubaroo add-on (there are plenty of tutorial for that) the answers are automatically graded based on a model answer by the teacher. The score and the correct answers can also be sent back to the students. This way an existing test can be quickly turned into an both student and teachers can get immediate feedback.

Screenshot 2015-08-18 at 16.49.09.png

21.06.15

Google Slides mobile with Chromecast support

Google Slides has been my favourite presentation software in the classroom for years now, the main reasons being its ease of use, speed and Google Drive integration (e.g. inserting images, linking to other files). One thing I have missed though was the integration with Google’s own Chromecast, which now has finally arrived (together with AirPlay support) in its mobile apps.


IMG_20150619_133321.jpg


So far you could do Slides presentations on Chromecast only via mirroring, which has a number of drawbacks:
  • only Android 4.4 and higher devices support mirroring
  • battery drain due to constant connection and screen on
  • no speaker notes as those would be seen on the big screen


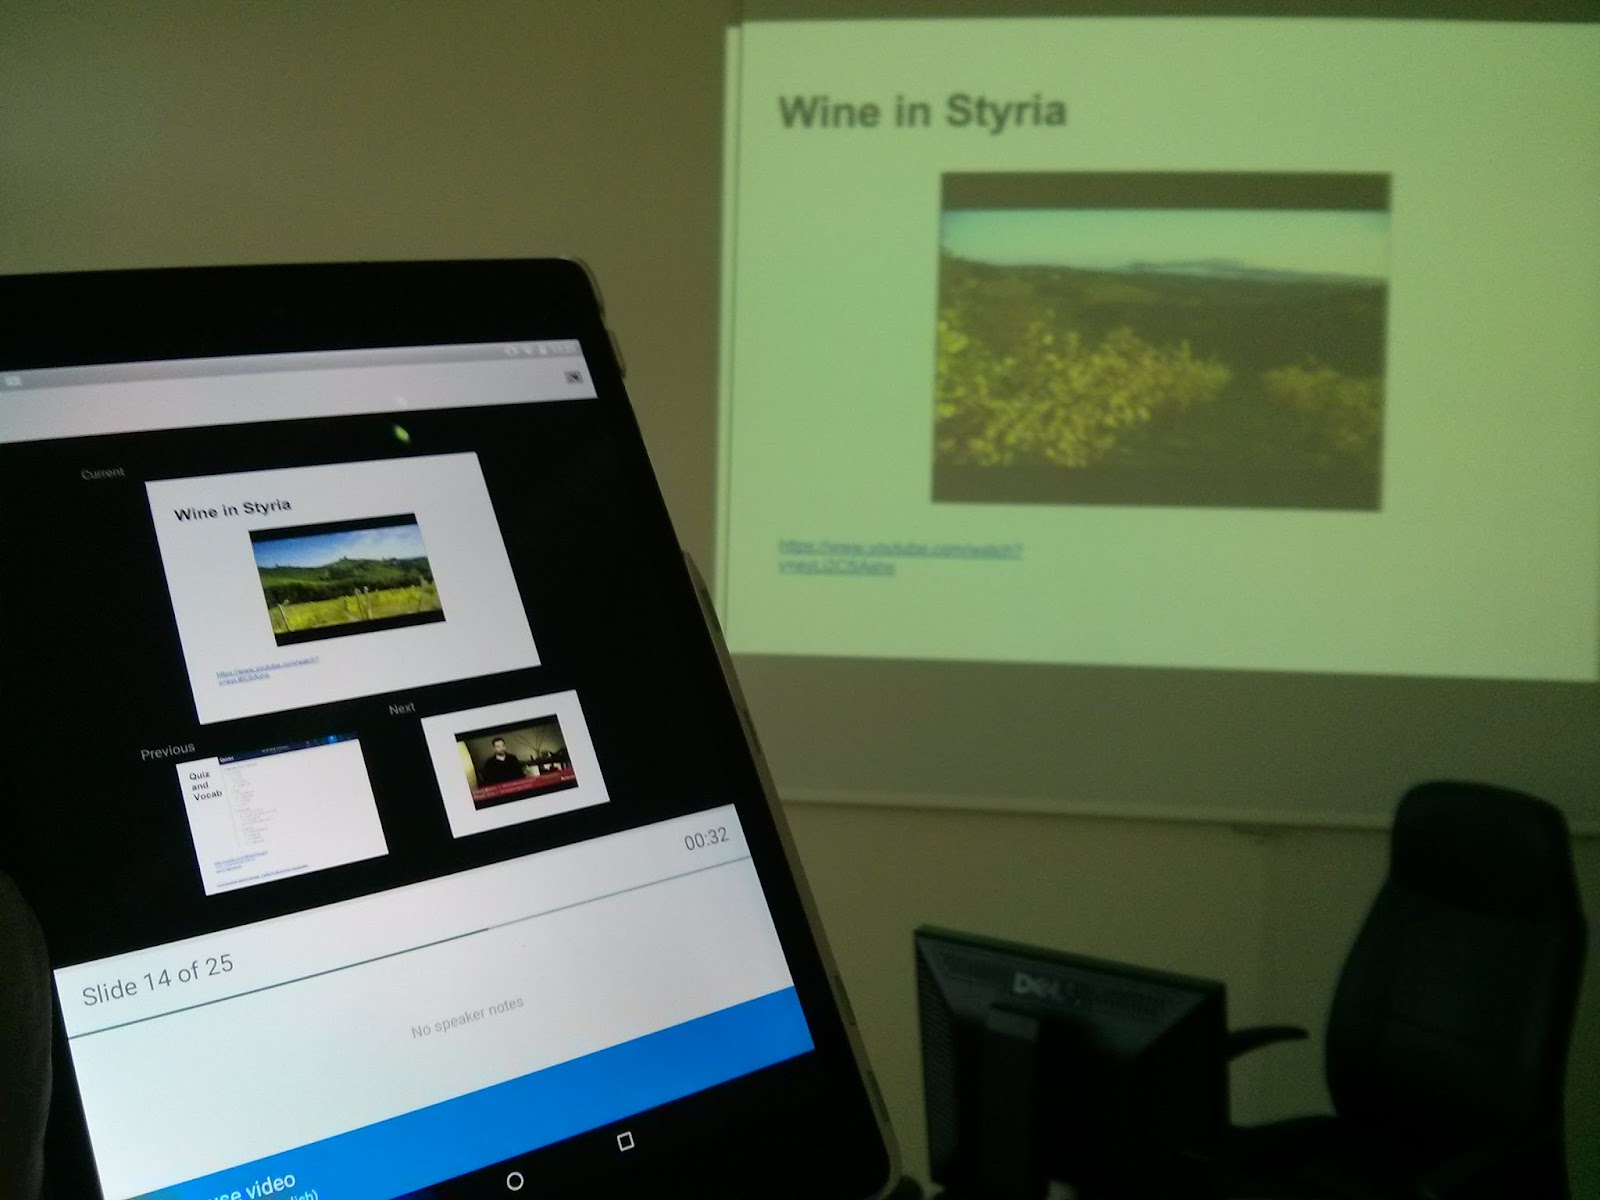
All these drawbacks disappear in the Chromecast integrated version of Slides: you can view your speaker notes and even turn off your device’s screen during presentations. And even iOS devices are supported.
As you can expect with Google first versions Chromecast support is not perfect, but it is actually pretty good for a start. Here are the pros and cons:


Pros:
You can remote control your presentation with the following features:
  • shows previous and next slides
  • shows speaker notes
  • shows presentation timer
  • allows video playback and pause


Here is what I still miss
  • slides slider for skipping several slides at a time
  • a video slider for fine grained video control and full screen mode
  • a blackout button to temporarily turn off presentation
  • a pointer


Some of these are only minor inconveniences, however, as there are easy workarounds for them. Skipping several slide: go back to main presentation screen and choose the slide you want to continue with (you also have to reconnect the Chromecast). Video: for full screen viewing all you need to do is enlarge the video to full slide size in design mode. If you need to work a lot inside a video (frequent replay, skipping, etc.), it would be best to Chromcast from the YouTube app and if you absolutely need a pointer you can use Chromecast mirroring.

All in all, the first version of Slides with Chromecast support is highly usable and I’m looking forward to seeing more useful features in future.

28.04.15

Using Google Cast for Audio in the classroom

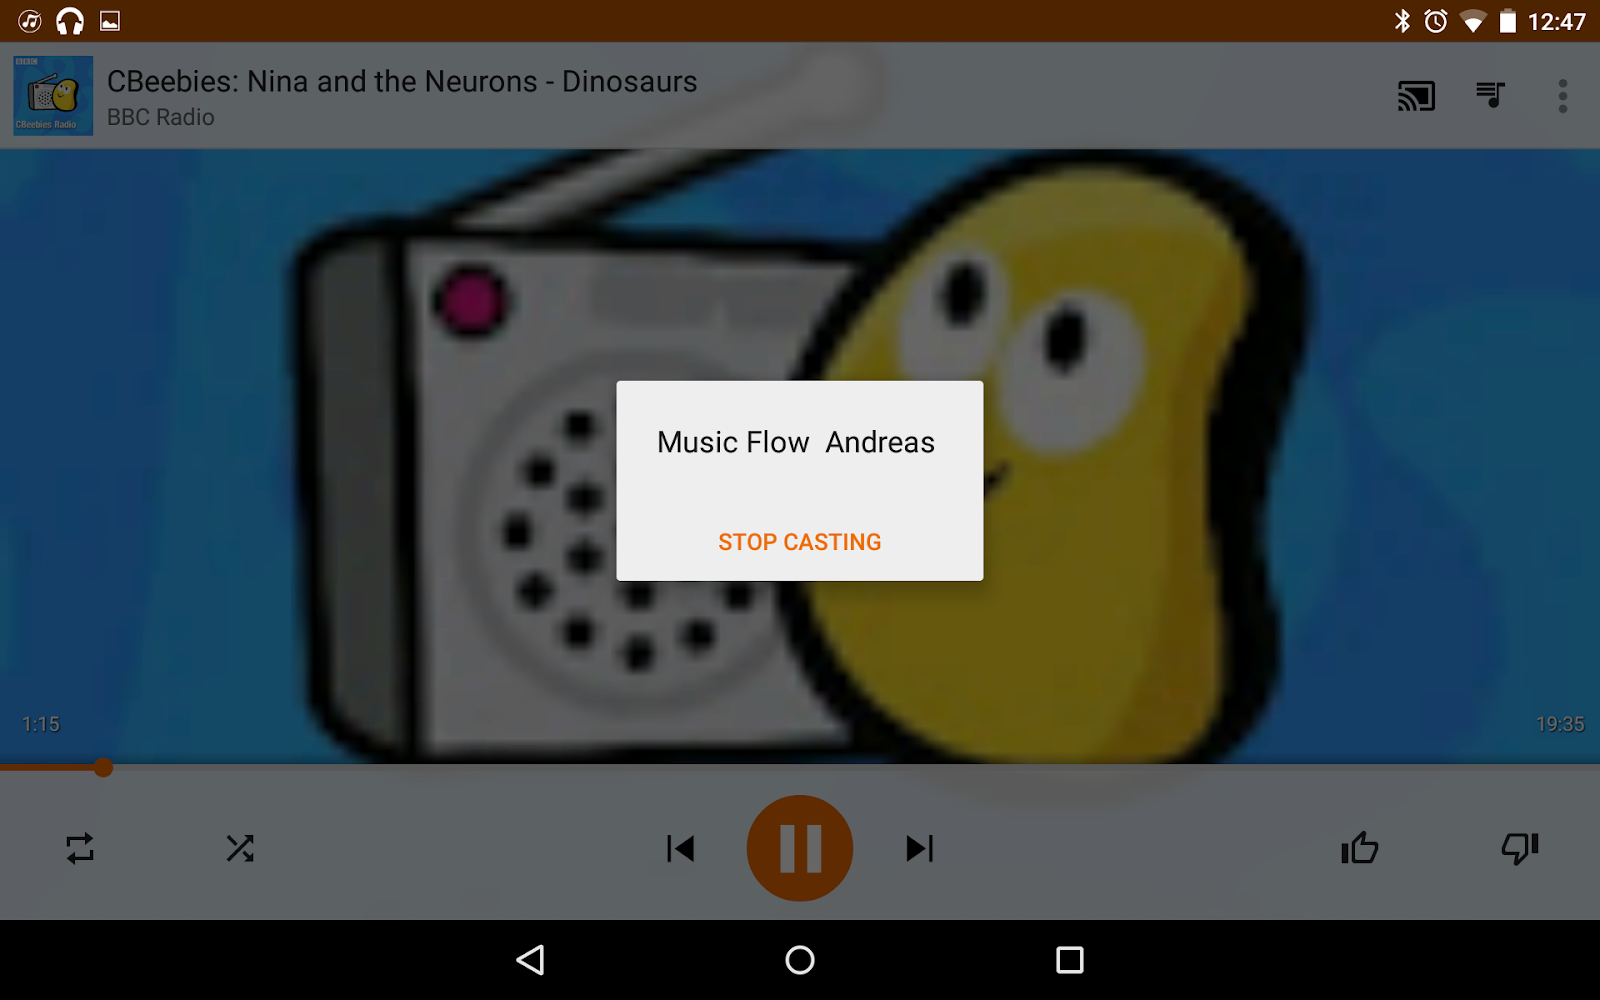
Google Cast for Audio has just launched and being a foreign language teacher, I’m very excited about its potential in the classroom. So I ordered the first set of affordable speakers (LG Music Flow H3 for €127) which I consider more than suitable for a classroom.

In brief, Google Cast Audio is the audio version of Chromecast and is supported by all apps and devices that support Chromecast (LG Flow Player, Google Play Music, Pocketcast, etc.). Of course you can play any local mp3 file wirelessly over wifi, but it get’s really interesting when you play from the Cloud.  

Screenshot_2015-04-28-12-47-05.png

The advantage of Google Cast Audio over other wireless ways of delivering audio (e.g. Bluetooth) are:
  • faster and easier to connect
  • very reliable due to more bandwidth
  • better quality audio
  • doesn’t require any resources on your mobile device as the audio is not streamed from the device but from the network

As you can upload all your music and audio files to Google Play Music, you don’t need much more than that for your needs (music, podcasts, foreign language files, etc.). If you don’t want to use Google Play Music, there is a variety of other services available to choose from (Deezer, etc.) When it comes to using podcasts you might want to use an app like Pocketcasts for streaming a podcast rather than downloading it.  

I also use Google Drive to store sound files. Of course you can also play audio files from Google Drive, but you have to download them first (best done before your class) and keep them on your device.

Chromebooks currently don’t seem to support Cast Audio (the chromecast extension couldn’t find the audio device). However, it is still possible to connect the H3 speaker via Bluetooth.

24.02.15

Prezi for Android review

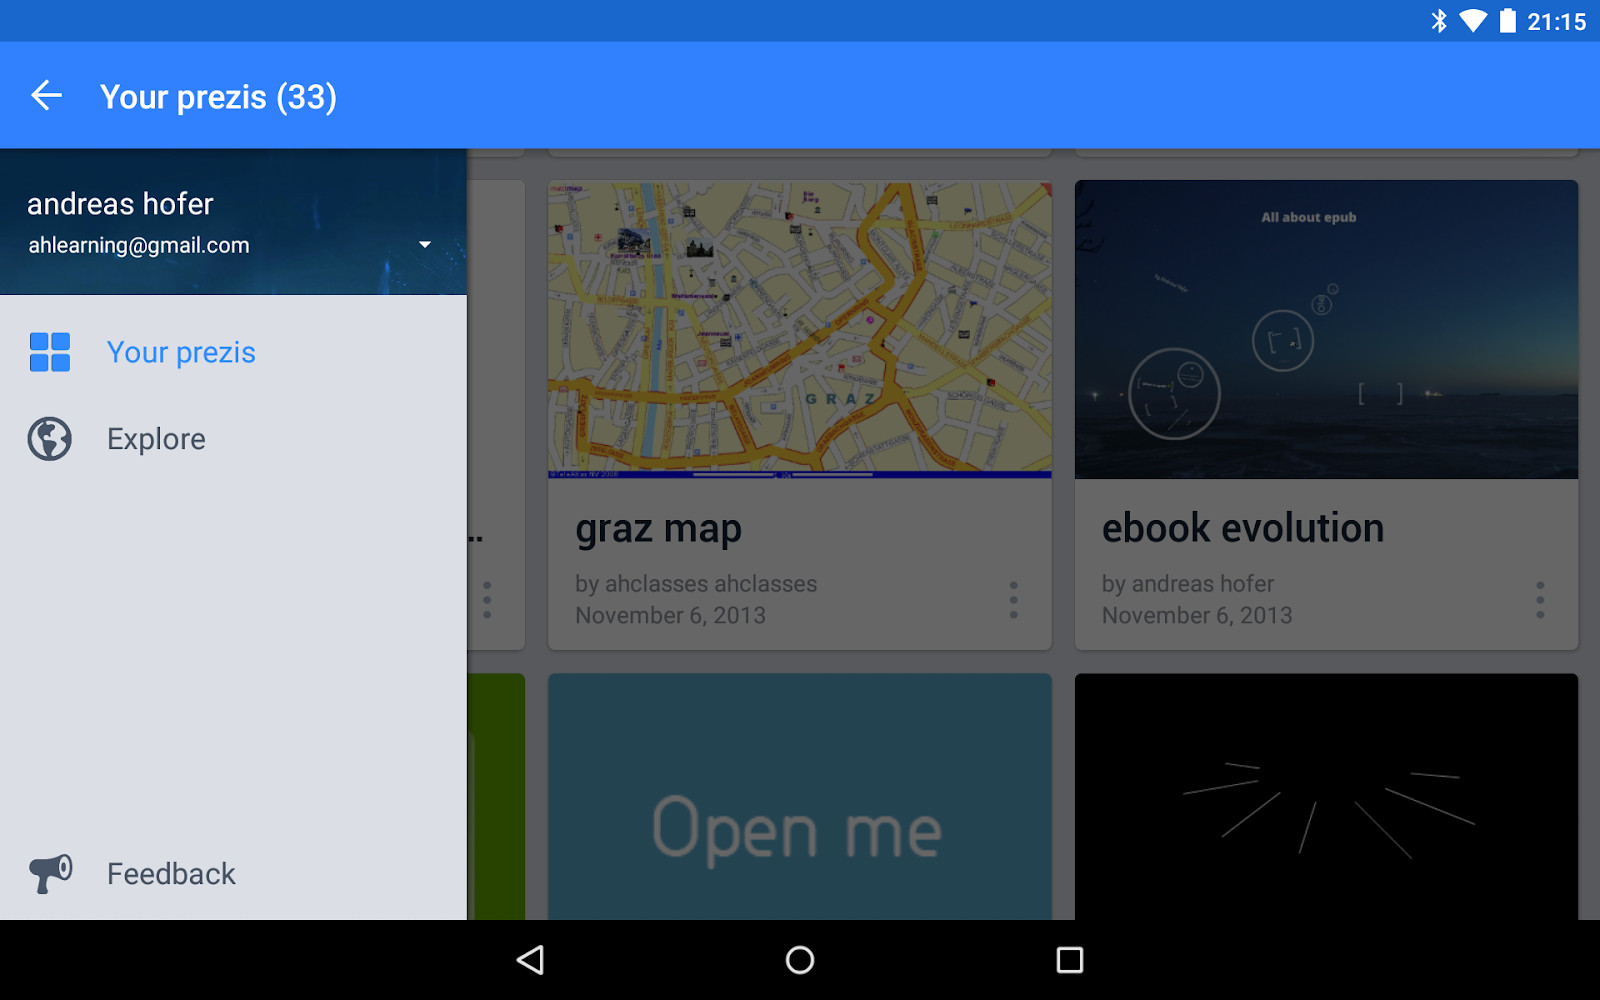
Another notorious latecomer has finally made it onto the Android platform: Prezi. The app itself is only partially useful as it is only a viewer and won’t allow you to edit, still you can use it to view presentations and to rehearse them on the go.


Screenshot_2015-02-24-21-15-51.png

It would be nice to have Chromecast support, so that you can the use the app for live presentations as well. In the description it says “Chromcast for supported devices”. This, however, is misleading. There is no native Chromecast support in Prezi yet. You can only use Chromcast mirroring if your device supports it (Kitkat and Lollipop so far).

Having said that, if you do have one of those supported devices, presenting with Prezi on Android is fun. Even so it takes some getting used to (double clicking instead of clicking for zoomin in, clicking/tapping instead of swiping for continuing the path).


The good:
  • Clean and beautiful material design
  • Fast
  • Great for presenting if you have a Nexus or brand new Android device

The bad:

  • no editing
  • misleading promise of Chromecast support

19.02.15

Creating narrated screencasts

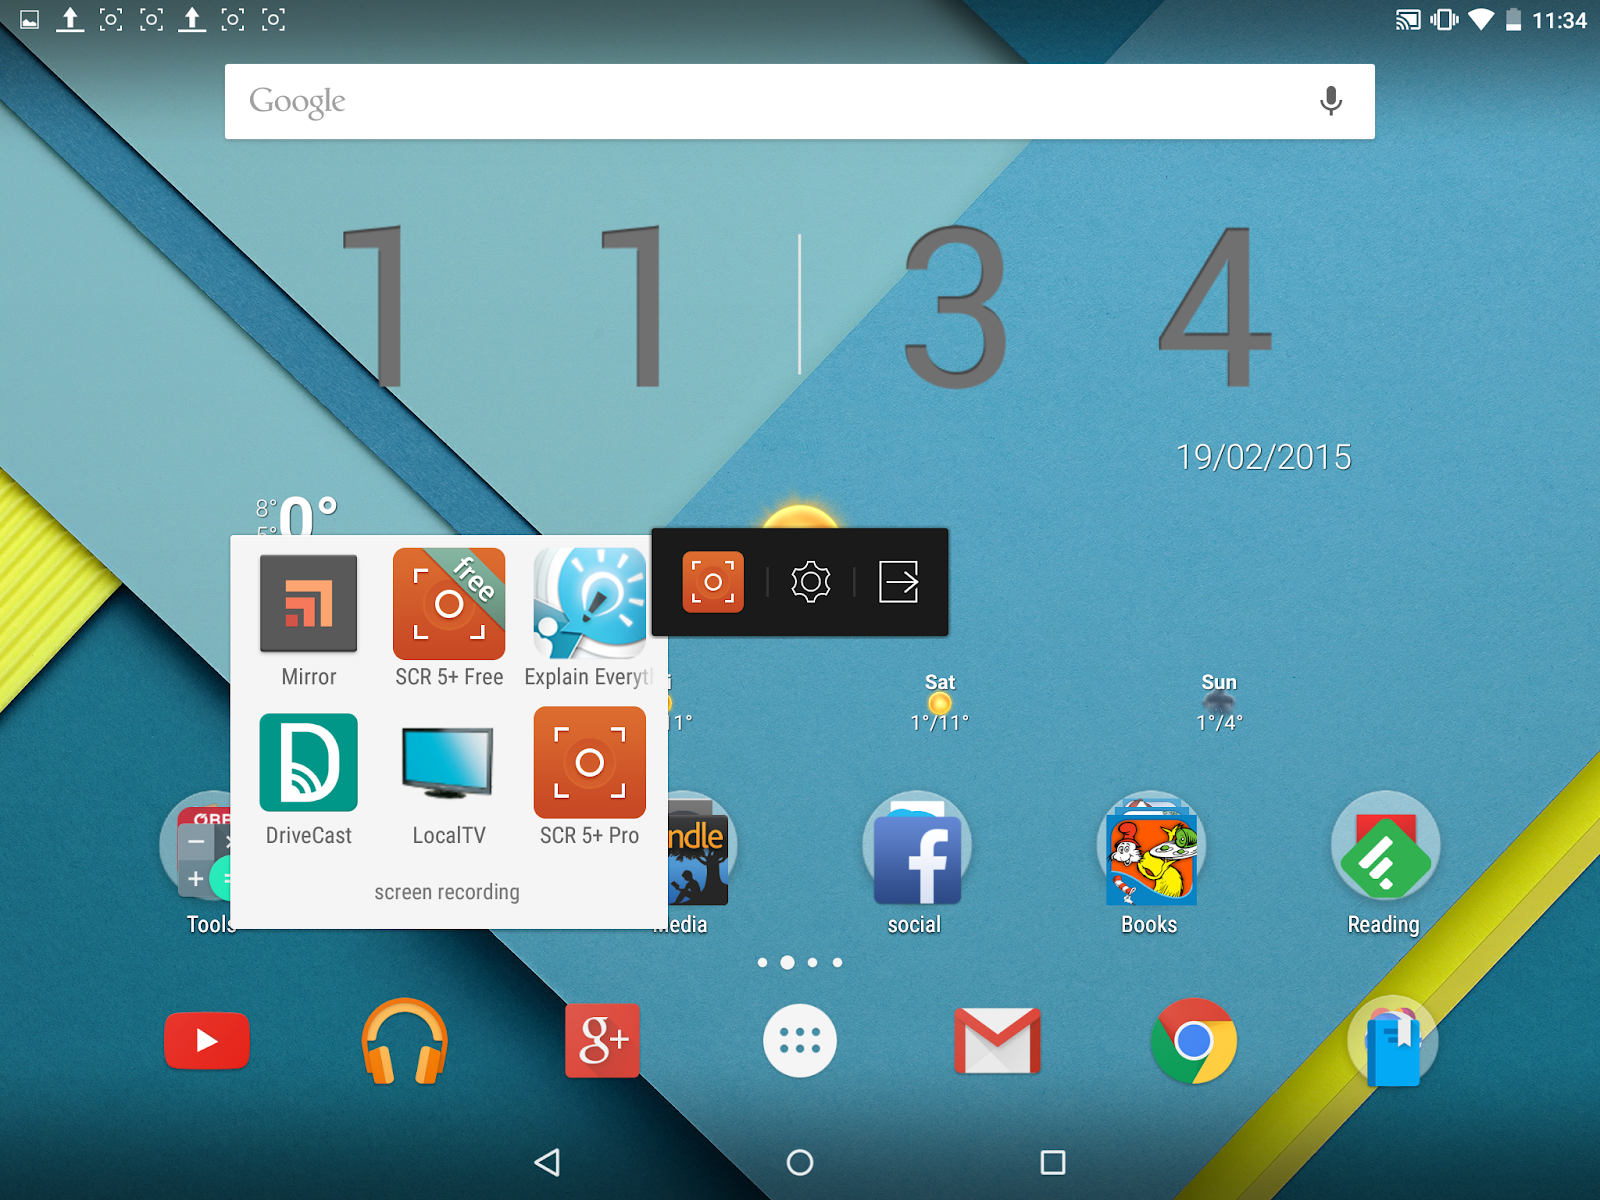
Screen recordings have been notoriously hard to do in Android. You had to tether your device to a PC or root it to do so.This, however, has changed since Android 5.0 Lollipop which supports screen recording natively and there is a number of great and easy to use apps to help you and your students create screencasts. The app that I use for recording is scr 5+ which come both in a free and a paid version.


Screenshot_2015-02-19-11-34-40.png


Screencast can be used for a number of purposes in education:

  • creating app demos (e.g. how to study vocab on Quizlet)
  • narrated presentations using Google Slides or Powerpoint
  • guided tours with Streetview or photospheres created by yourself
  • recording a whiteboard explaination
  • scribbling on a chart and explaining it and much more


Here are some tips on how to do screencasts:

Screencasts should be ideally short, somewhere between one to five minutes, as they get hard to listening to, particulary when not edited.

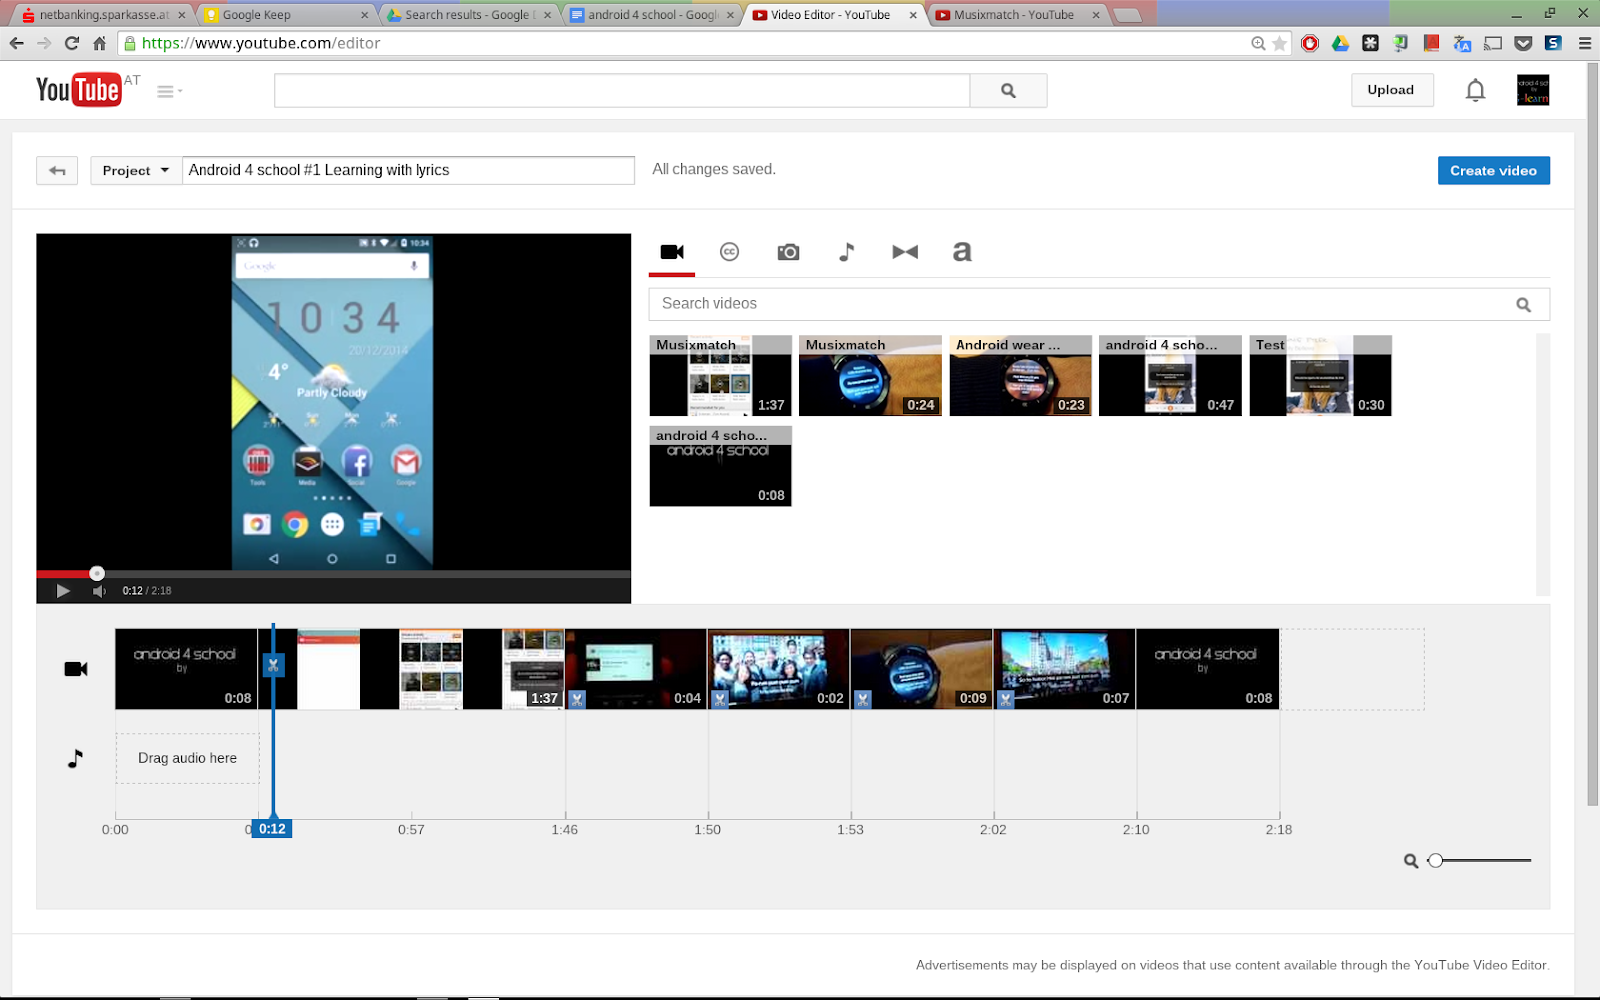
Some light editing can be done with the YouTube editor. Often all you need to do is trim the beginning and the ending of a video, which can be done easily with the YouTube editor. Other functions of you the YouTube editor you might want to use are increasing the audio volume and using free music in case you don’t want to do a voice narration.

Scripting a screencast before recording it might be a good idea, particularly if you want to avoid
slips. One of the avantages of creating a script is, that you can reuse it later for creating the captions. 

I use the YouTube editor also to add a podcast title sequence and closed captions. See also this previous post here.

18.01.15

Viewing any Streetview image in virtual reality/Google Cardboard


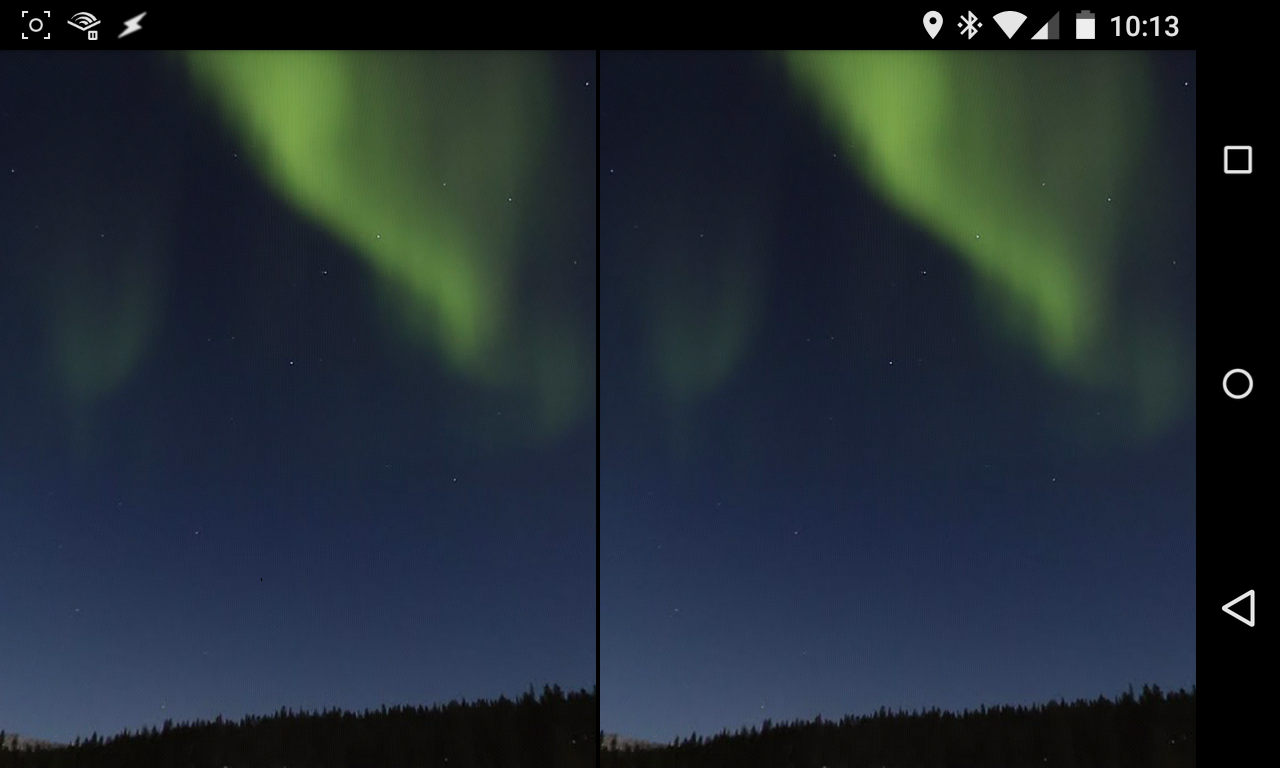
Google Cardboard is a very cheap ($20) way of enjoying virtual reality applications. Even though applications for education are still in their infancy, there are a couple of interesting apps for schools, like the guide of Versailles palace or Streetviews included in the Cardboard demo app.

aurora Screenshot_2015-01-18-10-13-01.png

If you have already tried out Google Cardboard app you might have wondered how you can view any Streetview image, and not just the ones shown in the demo app.


Here is the trick: you need the latest version of the Google Maps app. In the lower right corner there is an icon that lets you view the streetview in a look around mode. If you double tap that icon you get a spilt VR image. That’s all. Now you can enjoy the streetview in your Google Cardboard.


21.12.14

Multimedia production minus desktop applications

Even though I’m a big fan of the cloud and cloud applications (I’ve been using Google Drive and Docs for a couple of years now instead of desktop), multimedia has always been a kind of watershed for me demarcating the limits of online applications. Things, are beginning to change, however. Photoshop has been recently made available for chromebooks  and there have been many other applications before. What has been missing (not counting professional features not really required in education) is speed and integration.


With some new features in Android Lollipop (screen recording without rooting the device), I have been motivated to give it a try and create a video podcast without any desktop application, just using a smartphone and a chromebook.


The project involved the following steps:


part one: android smartphone
  1. recording the screen and voice on a smartphone using the (free) scr 5+ Android app
  2. recording video using the photo app
  3. uploading the footage from the smartphone to YouTube


part two: chromebook
  1. starting the YouTube creator to edit
  2. assembling and trimming the clips
  3. levelling audio
  4. using YouTube creative commons music for the jingle
  5. writing the closed captions in Google Docs
  6. downloading the captions as a .txt file and uploading to YouTube for automatic caption processing
  7. saving and publishing the video
The only thing I have done with a desktop application was creating the animation in Adobe After Effects. If you don’t mind static titles, you  could also use the YouTube editor to create the titles.


All in all the result comes across less professionally than if you use a desktop application. But the workflow definitely beats the desktop if your expectations aren’t too high, plus it would make collaborative projects (e.g. a video of a field trip with footage from many students) much easier to handle.

20.12.14

Will smart watches ever be relevant in education?

This may indeed seem a strange question when neither the majority of schools nor most students have figured out how to use their smartphones for learning yet. What’s more, a quick search on the web will bring up hundreds of articles about how useless and geeky smart watches are and that they are doomed to fail. Until recently I thought the only use for smart watches in school settings ever would be for cheating. Yet, having only worn an android wear watch for a week has changed my mind and here is why.


screen.png


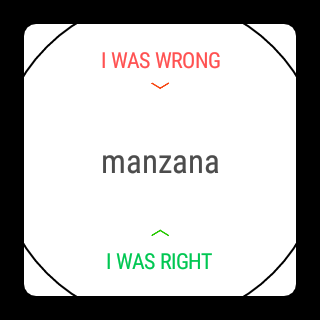
The education category for android wear so far isn't really filled with a lot of shiny apps yet. One notable exception being the much lauded  “Duolingo” (see screenshot), which lets you learn vocabulary in language and level you specify and invites you to do some casual learning on the go. The app isn't perfect though. It would be nicer if you could decide which sets of items to study yourself like in Quizlet. Even if it were perfect, it wouldn’t ignite much optimism for the use of any kind of systematic studying on watches - most people would prefer a phone or, even better, a tablet.


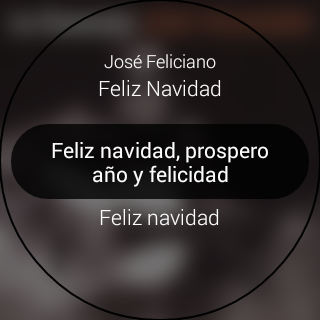
So, what could possibly be the use of a watch in learning? It will be most likely in more contextual and spontaneous situations. An app that excites me much more than the current version of Duolingo is musiXmatch. It shows the lyrics to any song playing on your connected device. Let’s assume I’m learning Spanish and listening to “Feliz Navidad”. I could simply read along while listening. But I don’t have to do that. Just listening to the song and occasionally glancing at the watch when I don’t catch a word would be helpful enough to use the watch as a learning tool.

screen.png


Voice commands will probably turn out to be even more useful than apps. You can do quick research on the web and get instant results (like “What is the capital of Belgium”). What will be even more interesting is getting results from your personal notes and materials (Google Drive, Evernote, textbooks, etc.). While this isn’t possible yet, I suppose it won’t be far away either. I  already get personalized search results now, e.g. when I ask to show me my pictures of London (I get a series of my own photos and I can swipe between them).


Like there are a lot of situations now in which students don’t really need a PC for learning, because they can be done equally well or even better on a smartphone (studying vocab being one of them), there will be situations in which students will rather use their watches than phones. Here are some obvious and perhaps less obvious ones:


  • translations (you can get instant translations already now by saying e.g. “translate book into Japanese”)
  • quickly checking results of exercises  (e.g. math problems done with paper and pencil)
  • feedback and student response systems (while not available yet, do you really need a smartphone to click yes or no?)
  • getting quick information via audio (e.g. “Who was Benjamin Franklin?”)
  • remote-controlling presentations, videos, etc.
  • quickly taking notes and accessing them

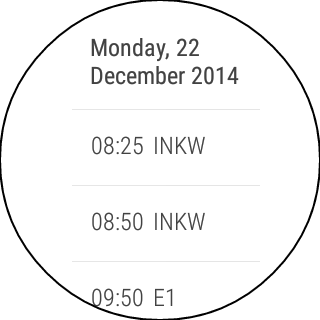
Last but not least, smart watches will be an important organizational tool. I have my Google Calendar connected to all my lessons from my school’s online system. My watch tells me which lessons come up next  and which ones have been cancelled. If I care to enter the data I even get more useful information like what I have planned for each lesson, which of my students has got a presentation, etc. So, my brief answer to the above question is: “Yes, of course”.
screen.png

24.11.14

How to use an Android device with Chromecast and Google Drive/local media at school

I have been a big fan of the inexpensive and easy to use Chromecast dongle for a year now. Even though it is great for home entertainment (YouTube, Netflix, etc.), it has been less than ideal in a school setting for a long time.


With the recent addition to screen mirroring things have changed considerably. Now it is possilbe to show virtually any kind of content via screencasting:
  • multimedia (video, audio, photos)
  • presentations
  • mindmaps
  • live app demos for your students
  • web conferencing via a smartphone or tablet
  • and much more

However, only a limited number of devices is supported currently (Android Kitkat and Lollipop). Of course, it is still possible to show photos from Google+ photos and videos from YouTube as well as a number of other options. One glaring omission, however, is still Google Drive and Google Slides support. I keep most of my media for my classes in Google Drive and I also would like to be able to show presentations, so I find it a bit dissappointing that Google hasn’t provided it yet. What’s more, if you want your students to show their local photos or videos via Chromecast it can also turn out to be tricky without screen mirroring.

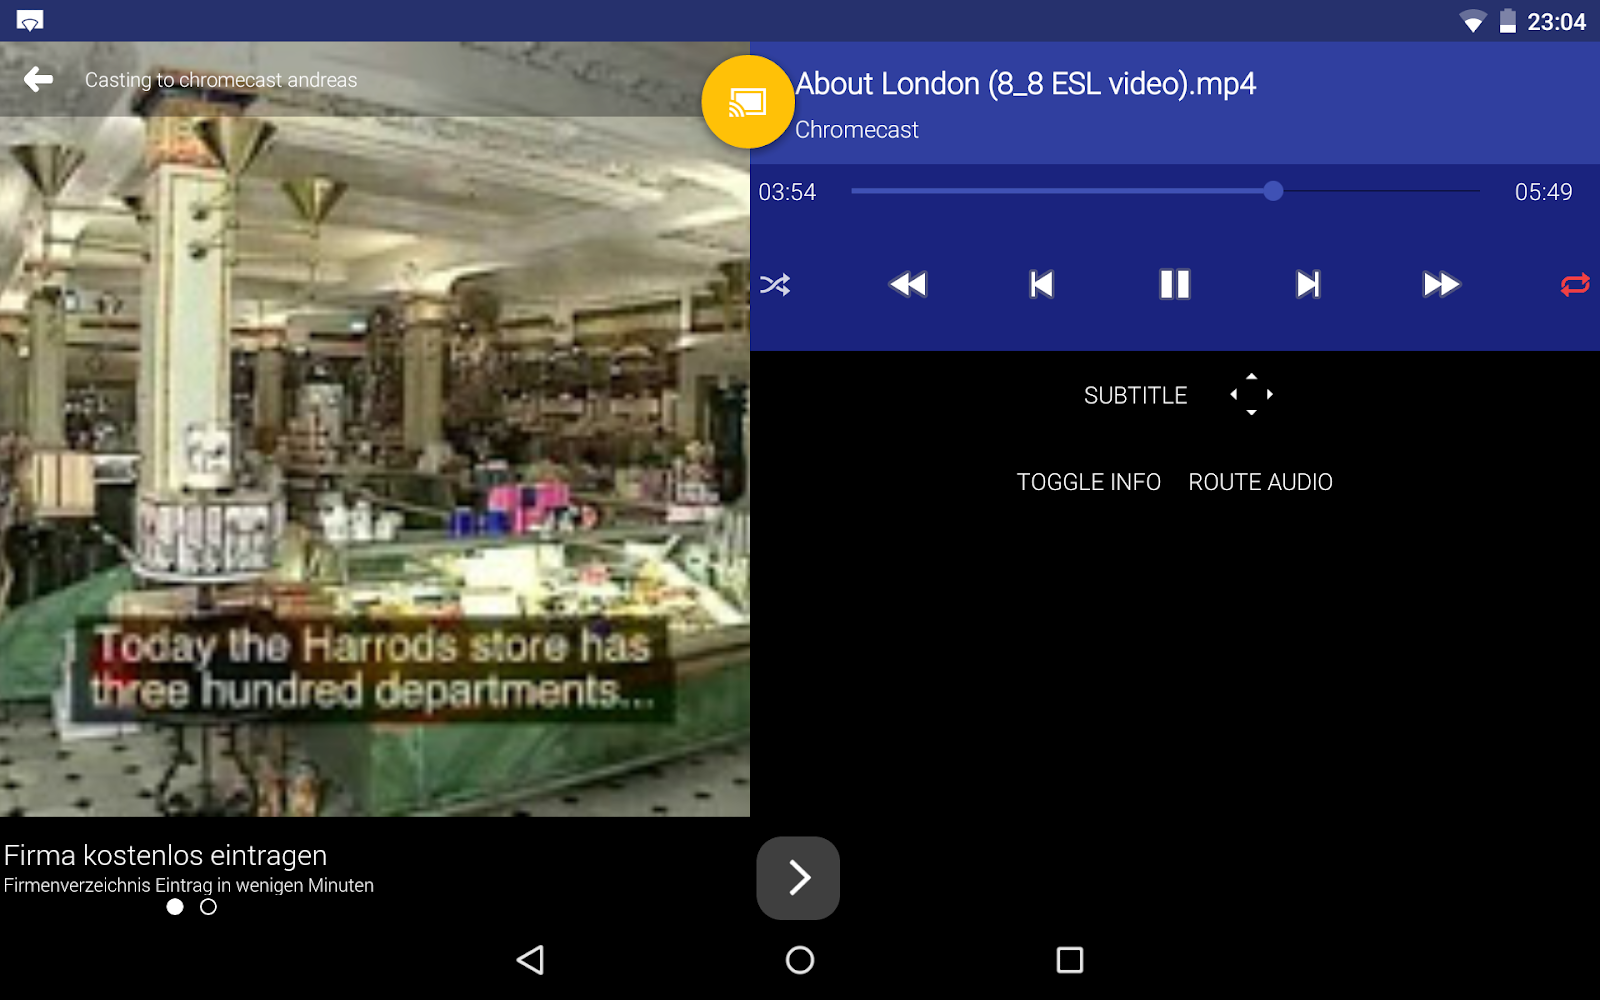
Screenshot_2014-11-24-23-04-37.png


One app that seems to have it all is the free Localcast (with an additional free cloud plug-in). You and your students can show both local media as well as access media (photos, audio, video, pdf files) stored on Google Drive. In addition you can show presentations using a little trick. As the app can show pdf files, all you need to do is to download a Google slides presentation from the Drive app and it is saved as a pdf file. Localcast then creates images on the fly (no animations, etc. supported!). The app is a bit quirky at times, but works great in general and there is an add-supported free version, so that the students won’t have any costs when downloading the app onto their devices.

10.11.14

Screen recording finally made easy in Android Lollipop

So far screen recording on an Android device has been only possible either by rooting it or by connecting your device to a PC and record the screen there. With Lollipop this unfortunate situation has changed and it has become really easy to record the screen.


I’ve downloaded and tested two free apps: Mirror and SCR 5+ free and both work fine even though the former is still in beta and the latter has a three minute limit in the free version.


In an educational setting this functionality can be used for a variety of purposes.
  1. You can create a demo of a useful app for your students.
  2. Students can record a voceover for a presentation.
  3. They can do the same thing with a book, to create a multimedia book or simply as reading practise
  4. Annotation of PDF files for peer teaching


Personally I am very excited about this functionality, because it makes it very easy and quick for students to create their own video projects. Editing in an educational setting often is too time consuming (particularly audio, which would require different effects such as normalizing and noise reduction, which require professional desktop software). So, uploading to YouTube or Google Drive straight away is often the best option.

Some editing can be done in YouTube as well. You might want to trim the video and add closed captions for example. I have recorded the following video on a Nexus devices and uploaded it to YouTube. The editing (trimming and closed captioning) was done on a Chromebook inside YouTube (YouTube Creator).


01.08.14

Tynker - learn to code by playing games

2014-08-01_21-46-55.png


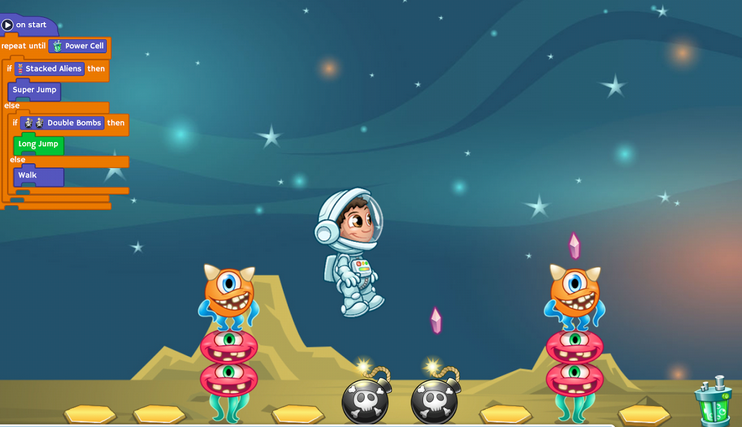
Tynker, an app that teaches kids to program is now also available on Android. It is probably the most fun way to teach and learn coding that there is. The game has two “modes”, a game mode, in which you play games by applying programming logic and a build mode, which lets you build your own games (with our without templates) and which is reminiscent of early Flash programming (i.e. highly visual) plus Google MIT Android App inventor.


The game teaches programming concepts such as:
  • iteration (repeat, until (not))
  • conditions (if)
  • functions
  • variables
  • events handlers (on start, on touch)
  • and more


I wouldn’t recommend this app if my son and his cousin weren’t in love with it and I am having a lot of fun helping them when they get “stuck”. It’s not as cool as Minecraft for them, but for an educational app it is pretty close.

Unfortunately there is no free tryout version for Android available yet as there is for iOS. The pro version is not very expensive, though and provides hours of instructional fun. If you are a teacher who has never coded before, it might be the right app to get you started.

16.06.14

Adding photos to a Google Sheets gradebook and creating a seating chart

One of the more frustrating aspects of Google Sheets is importing images. If you import an image with “insert image” menu, it will just “float around” rather than being attached to a certain cell. The ideal way of importing images to a gradebook would be to import a Google Drive folder containing the images (in alphabetical or numerical order) and then having them automatically assigned to the students’ names. Unfortunately that option isn’t available in Sheets, nor have I found a script which would do just that on the web.


16-06-2014 23-08-42.png


There is an =image(URL) function which can load images from an URL. Unfortunately you can’t load images from your drive, because the URL is not directly accessible (unless you make the folder containing the images public).

The fastest workflow I have come up with is the following:
  1. upload the photos to a Google+ album
  2. import the images from the album (thumbnail URLs) with =image(URL)
  3. use the index & match functions to move your images to where you need them (seating chart, student report, etc.)

You can speed up the import process if you get the URL from the neighbouring cell rather than pasting it into the formula each time (see here). Copying and pasting from a Google+ album doesn’t take long (about 2 minutes for 20 students if you have their photos already uploaded).

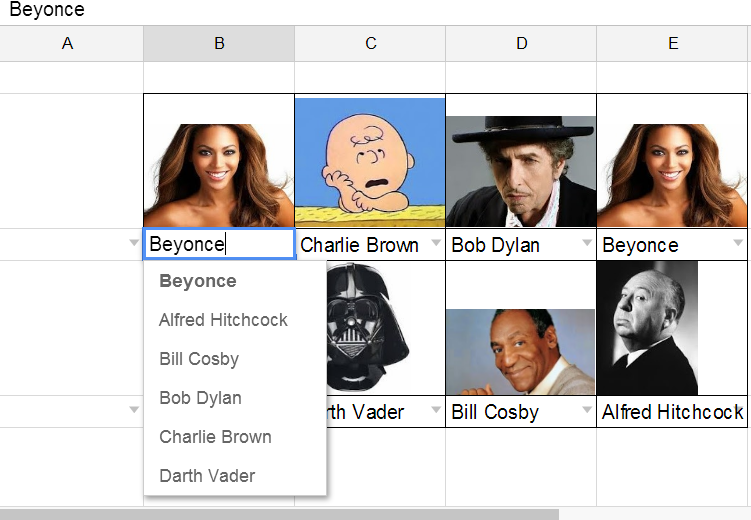
Depending on where you want to move the photos you can use a variation of the index/match formula. For creating a seating chart I create one row with a pixel height of about 100 and use the row below for the caption (using data validation is very handy here). Finally I simply have the row above find the corresponding image fromt the “import photos” sheet” using:
=iferror(INDEX( 'photo import'!$C:$C,MATCH(B3,'photo import'!$B:$B,0)))
You can then conveniently create a seating chart using the dropdown list of the students’ names instead of having to move around the images.

To see this in action just make a copy of the tutorial file.

Unfortunately the Android version of sheets doesn’t display photos (yet). So, if you want to have a copy of the seating chart on a mobile device you will have to download the sheet as a pdf file.

10.05.14

How to create a tour with photospheres and embed it into a website or blog

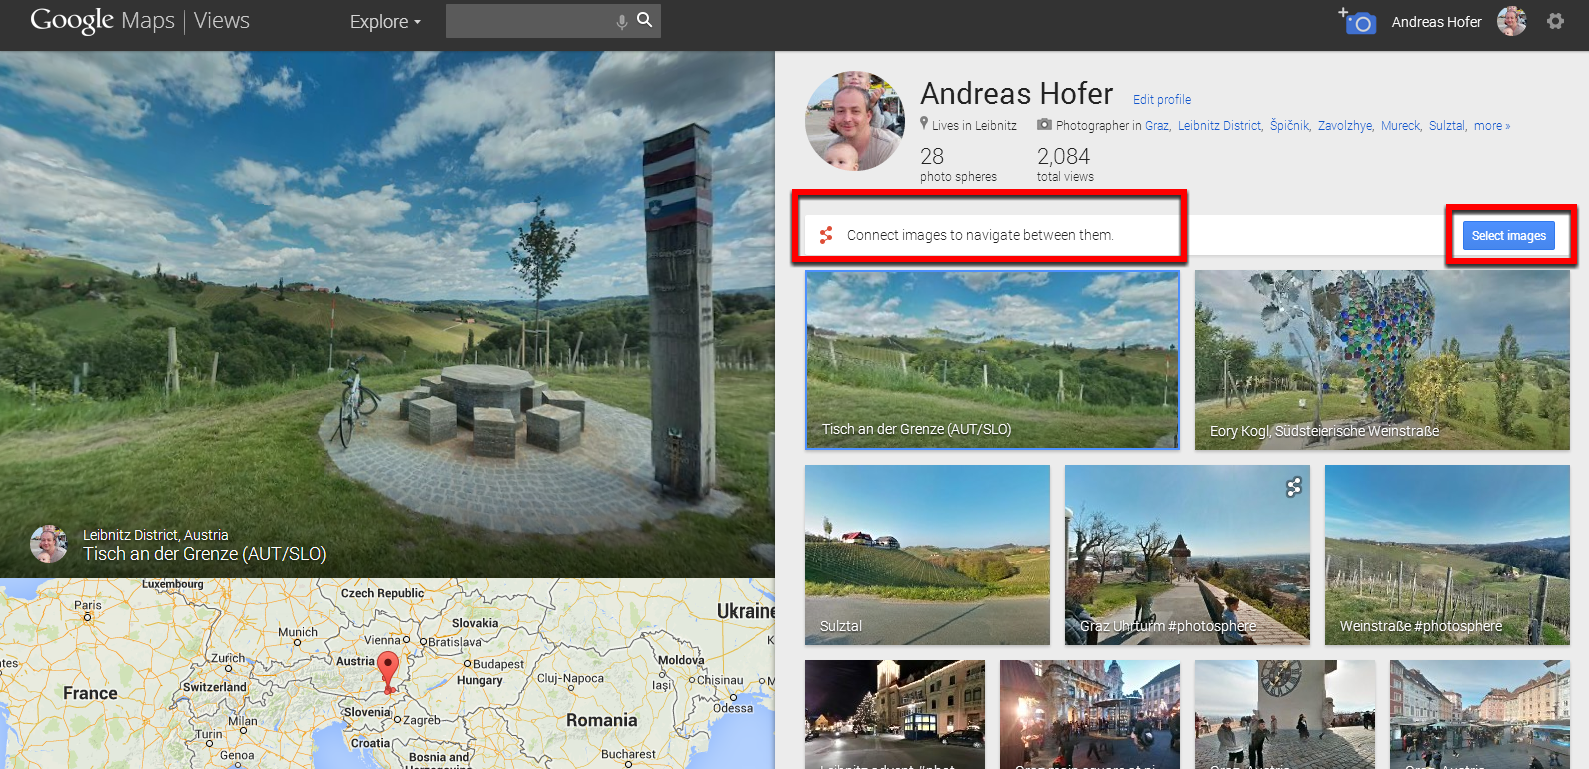
Photospheres are 360 degree photos which can be taken very easily with smartphones using the Android 4.2 OS or above. It is possible to connect them and create a Google Streetview like tour. This can be used for projects in schools, e.g. to create a tour of the school, a nature trail or simply as a souvenir from a school trip. 


2014-05-10_22-32-30.png


Photospheres are wonderful, but they have a catch: they can be only viewed on Google+ or Google Maps and they don’t come with an embed code for websites or blogs. However, there is a workaround. Here are the necessary steps:

  1. Upload the photospheres to Google Plus (in case of a collaborative projects I always use a Google account that I have created especially for school projects and none of the students or mine)
  2. Upload the photosphere to Google Maps Views using this URL: https://www.google.com/maps/views and chose the photospheres from your Google+ photos
  3. You can connect different photospheres to create a tour in Views simply by selecting the photospheres there.
  4. When you watch your photoshere or tour in full view you get a sharing icon which lets you share the link and gives you the embed code for your website or blog.


View Larger Map

Beliebte Posts